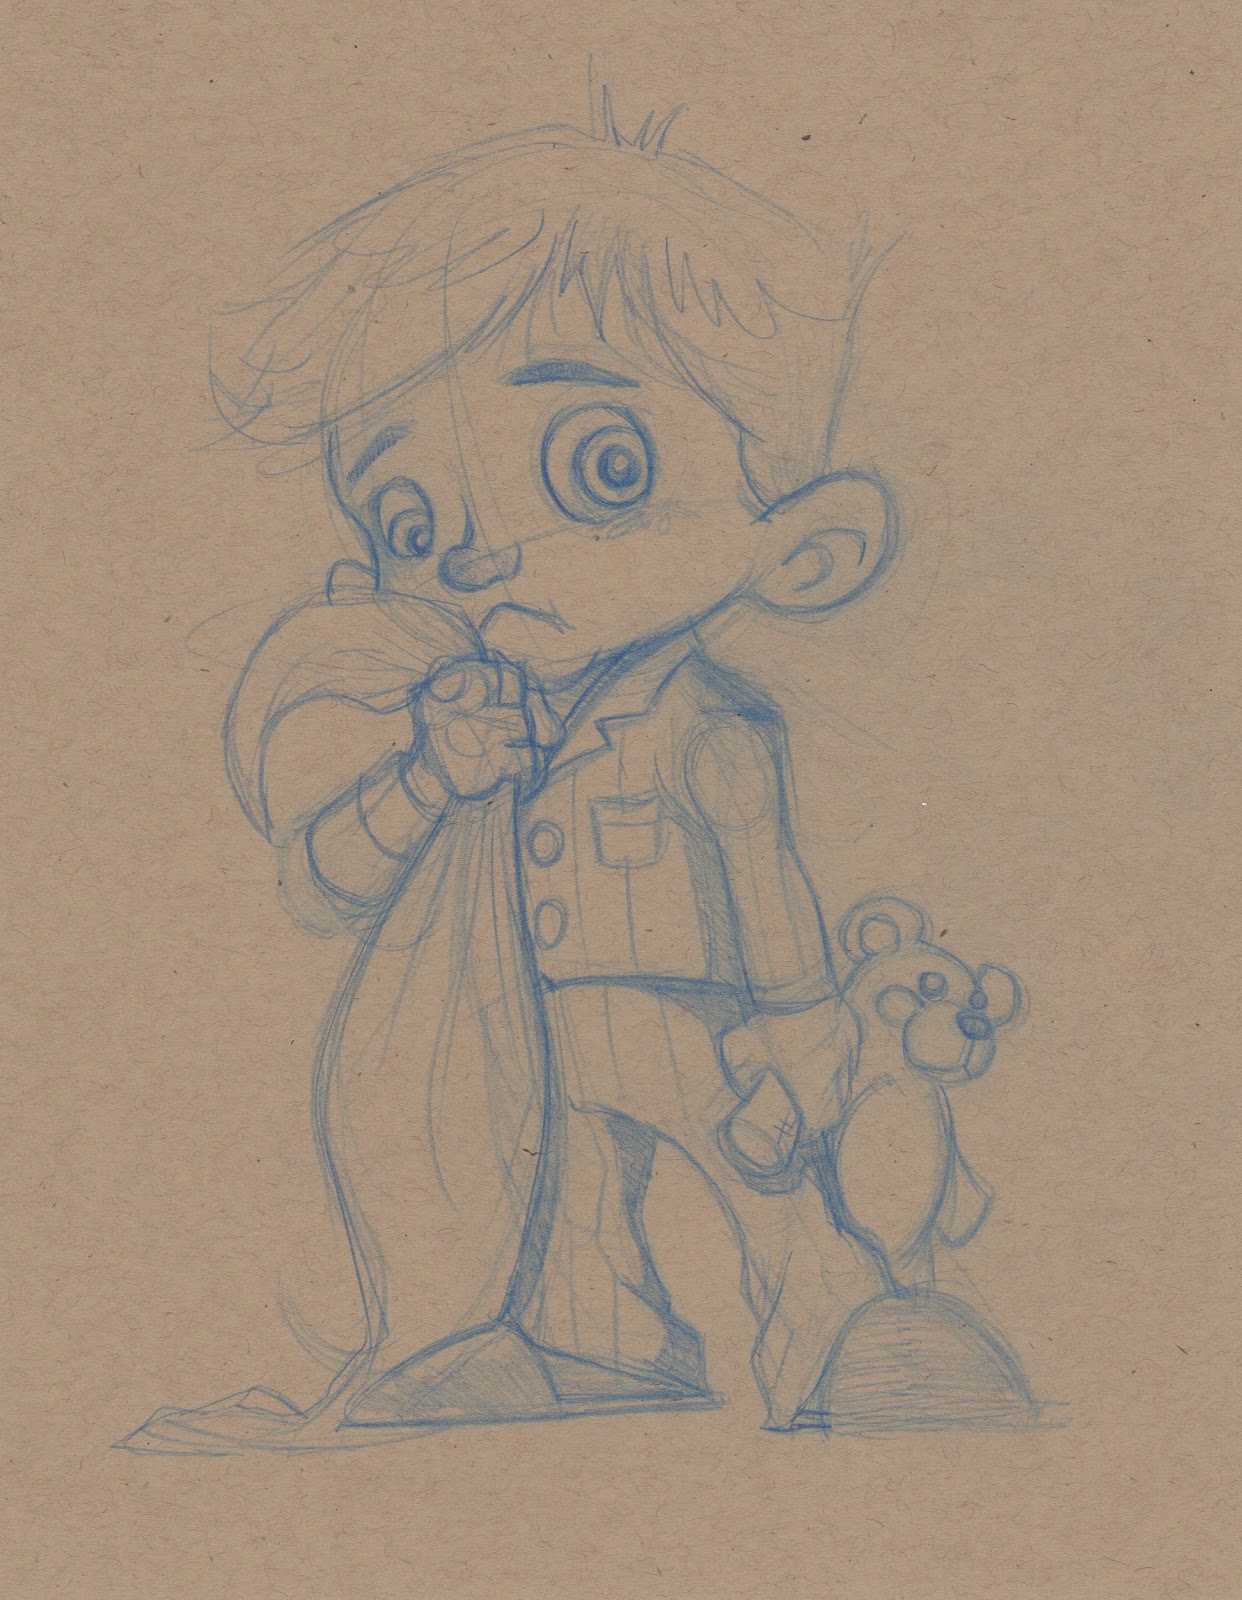
Quick Two-Face sketch for today's Sketch Dailies theme...
Showing posts with label Sketch. Show all posts
Monday, May 9, 2016
Thursday, April 7, 2016
TBT: Rocket Raccoon!
Seeing as it's Throwback Thursday I thought that I'd share a painting that I never posted on here before. I've posted it other places such as Facebook, Tumblr, and Instagram. Those outlets are fine and all but the images are small and you can't really see some of the fun details that go into one of these paintings.
I painted this last year to use as a print for the Salt Lake Comic Con. The sketch below was created using 11x17inch bristle board, prismacolor pencils and Copic markers. The Painting above was made in photo shop using a Wacom Cintiq 24 HD. The sketch served as a really good foundation for the final painting. Not much of the sketch really changed, all I did was enhance it with some extra pixels. If you'd like to pick up a copy you can visit my store.
Thursday, February 12, 2015
Ink Sketch Process: Baymax and Hiro
Those of you that follow me on social media Sites like Facebook and Instagram know that for the past few weeks I've been experimenting with ink on toned paper. A few of you have asked about my process for creating these sketches so I thought a blog post was in order.
My materials are outlined in the above photo and I will proceed to give a step by step process down below.
Today's subject is Baymax and his pal Hiro. I loved Big Hero Six and Have been wanting to draw these two guys for a while now. This was the perfect opportunity to do so. If you haven't seen the movie yet you need too its a lot of fun! Okay back to the tutorial...
First: I start off with a loose pencil sketch with a Black Prismacolor Col-Erase pencil on a smooth heavy weight toned gray paper. I really like these types of pencils because they typically don't smear all that much and they don't get all shinny like graphite can after you work it to much.
Second: I grab my trusty Copic Markers and start to lay in some of the values. For this type of sketch I use the warm gray set but any gray markers will work fine.
Third: Using my Pentel pocket Brush Pen and begin to ink the sketch. For the the larger black areas I grab a large flat wash brush and some Higgins black ink. I used to only use a brush pen for this step and it would take forever. However using the larger brush cuts the time by over 75%.
Once the inks are laid down I load up an old "clean" toothbrush with some black ink and using a old credit card I flick the ink and spatter it all over the drawing. This helps to give the drawing more texture. It's a little nerve wrecking to do this to a perfectly good drawing but the effect is well worth it.
Fourth: After the pervious step I have to let the inks dry. Sometimes to speed up this process I'll use a blowdryer to quickly dry the inks. Once the inks are completely dry I use I white prismacolor pencil and lay in some highlights in a cross hatching pattern working across the form.
Then using a #6 round brush and a little titanium white acrylic paint I paint directly over the white pencil to help create some gradients and subtle transitions. After the acrylics are dry I'll use a white gel pen to add in some more highlights and the smaller details. now that all the highlights are laid in I'll load my brush up with some watered down white acrylic paint and then I'll spatter it all over the drawing just like I did with the black inks to add more texture and a little variance. After the paint dries I add in the old John Hancock signature and the sketch is done.
I've included several drawings in which Ive applied a similar process. I'd love to see your drawings using this same or a similar process. Feel free to email me or tag me in your social media posts. Also if you have any comments sound off down below! Now get out there and draw!
-Adam
Labels:
Bay Max,
Big Hero 6,
Copic Markers,
drawing,
Hiro,
ink,
process,
Sketch,
tutorial
Saturday, July 26, 2014
Hellcat: Marker Drawing Process!
I get a lot of questions about my process for sketching and drawing with markers. A lot of people ask how I get such vibrant colors. So I thought for this weeks blog post I'd share my simple three step process for how I go about drawing with this super fun and amazing medium.
Step 1:
I start out with a loose pencil sketch usually drawn with a red, blue or black Prismacolor Col-Erase pencil. I love these pencils because they don't really smear and they have a soft waxy feel when you draw with them. I've been using them for years and absouluty love them.
I draw on all sorts of papers and surfaces. My preferred paper is an 80lb heavy stock "oatmeal" colored paper made by the French Paper Co. It's a great paper for mid tones and really helps to harmonize colors better than traditional white paper.
Step 2:
Once the rough sketch is to my liking I move on to the next step which is applying the marker washes. I say washes because I treat the markers a lot like you would a watercolor painting. Working from light to dark building up the values and the layers.
As far as the actual marker goes any brand will work. Copic, Touch, Prismacolor etc... I happen to use a super cheap design marker made by Utrecht. I love how juicy and vibrant they are. The nibs (tips) are fantastic and can provide a wide range of marks and strokes. On one side you get a chiseled tip and on the other side you get a really nice flexible brush. The best part is that they only cost $1.99 compared to $5.00-10.00 for the other brands!
Step 3:
Now that the markers are laid down now its time to make these colors really pop! This step for me is the most exciting because this is where the drawing really comes to life. I use a process similar to oil painting where you paint, or in this case draw, the lights over the darks.
I grab my trusty box of Prismacolor colored pencils and start to work over the top of the markers drawing bringing out the highlights and accenting the character. The trick is to not be too heavy handed, keeping your hand light and barley touching the surface of the paper building up the layers.
Final:
There you have it! Like most things in regards to painting and drawing it's all about the process. Certain process will yield different results. In my case this is the process that I have come to really enjoy. Is it the only way to draw with markers and colored pencils? Of course not. I would encourage all you to try experimenting and develop your own process. Feel free to comment or ask questions down below.
I am currently working a more in depth video tutorial of this process. I'll post it up once it is completed. Until next time take care and keep drawing!
Links for materials:
Update: I did a little digital painting of Hellcat
Wednesday, March 20, 2013
Even More Sketch Madness!!!
Sketching is a very important part of my creative process. It helps get the "artistic juices" flowing. Before I sit down to a project I spend a good amount of time drawing thumbnail sketches. These are tiny sketches no bigger than an inch or two. Sometimes I will have a pretty good idea of what I want to create but, I find it extremely helpful to sketch the characters in a variety of different poses and compositions. My friend Will Terry, often teaches that if your painting can not read at thumbnail size go back to the drawing board and fix it.
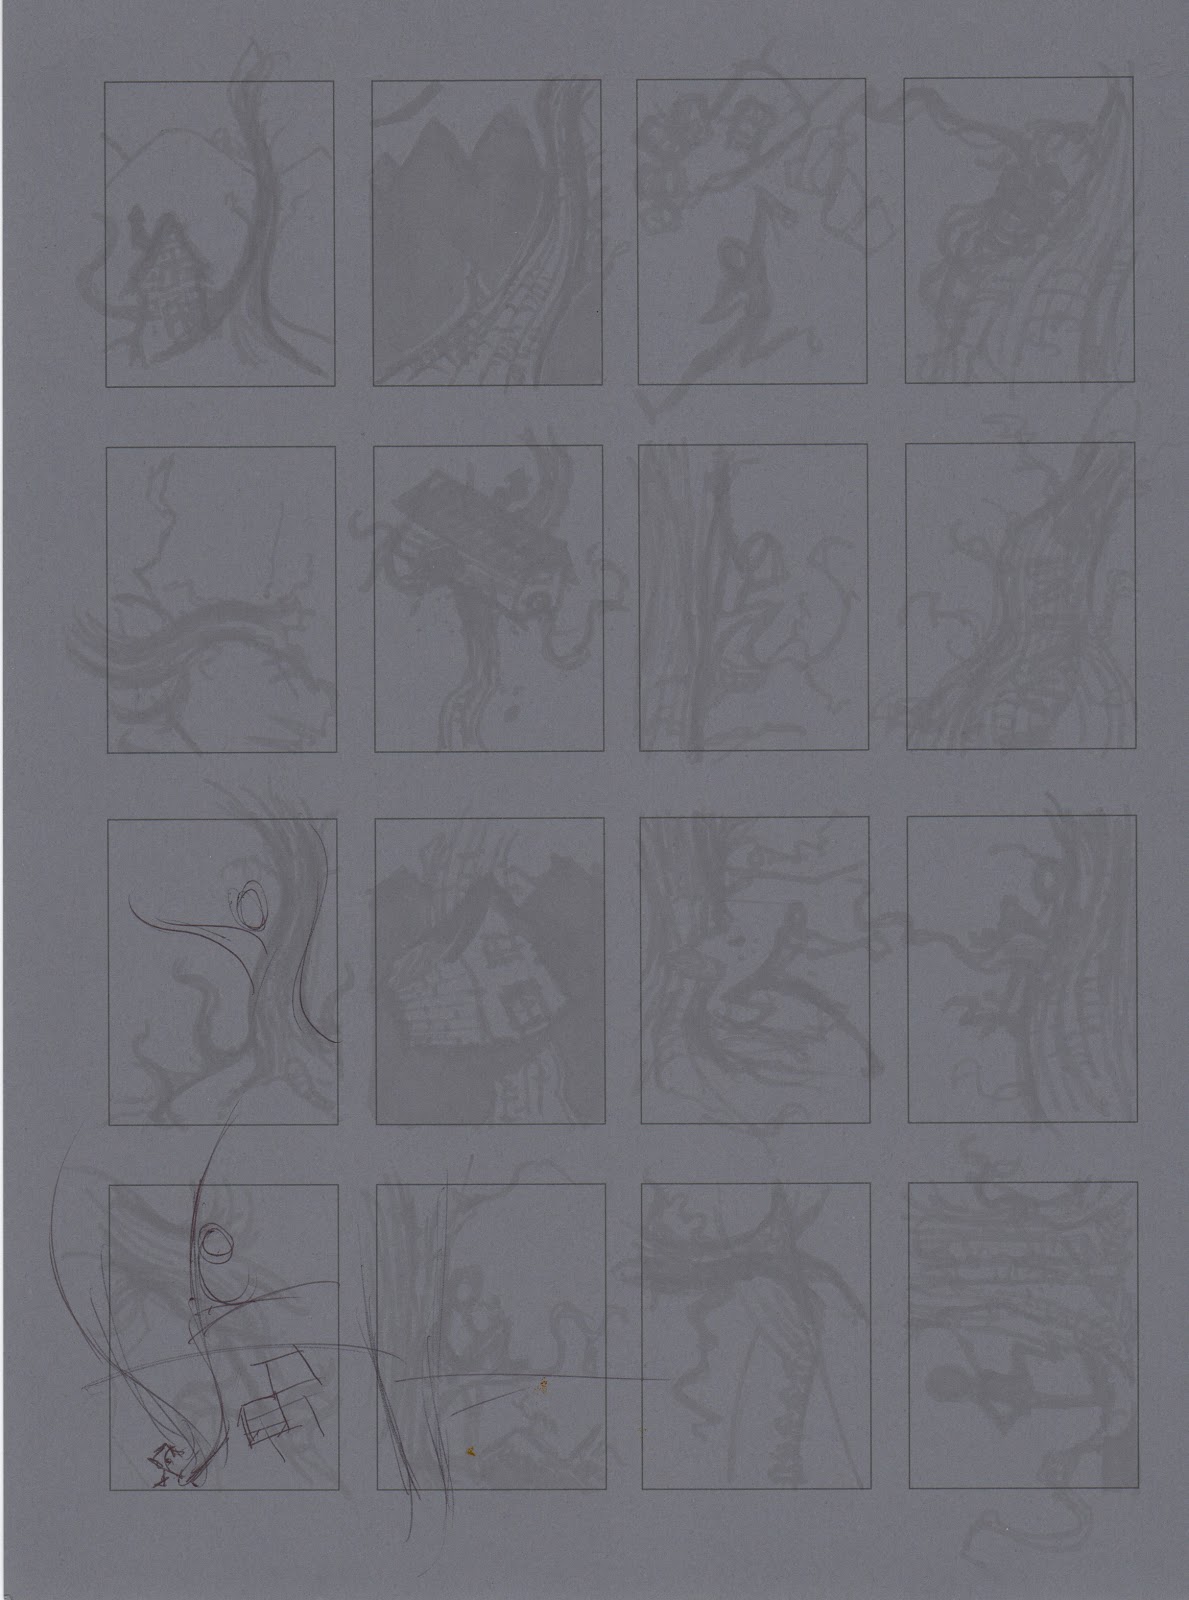
The nice thing about working at thumbnail size is that you aren't concerned with the minor details. It's more about value and shape and how they relate to each other. When drawing caricatures it's really helpful to work this way because you are focused on the simple shapes that make up the person. I feel that I can usually get a better likeness if I bust out several thumbnails of the person first.
Now I have to come clean with all of you... getting in the habit of drawing thumbnails was a pain in the you know what. Most, if not all, of my college professors and instructors will be the first to tell you that I was not the best at planing out my designs in the thumbnailing stage. A lot of time was wasted fixing compositional problems that could have been solved a lot earlier in the process.
I've included a few thumbnail sketches so that you can see kind of what I'm talking about. I created a scaled thumbnail grid in photoshop and printed them in gray paper. Using an assortment of warm gray markers I can quickly block in my ideas. I still have a ton to learn and look forward to more an more thumbnail drawings!
Monday, January 21, 2013
More Sketch Madness!
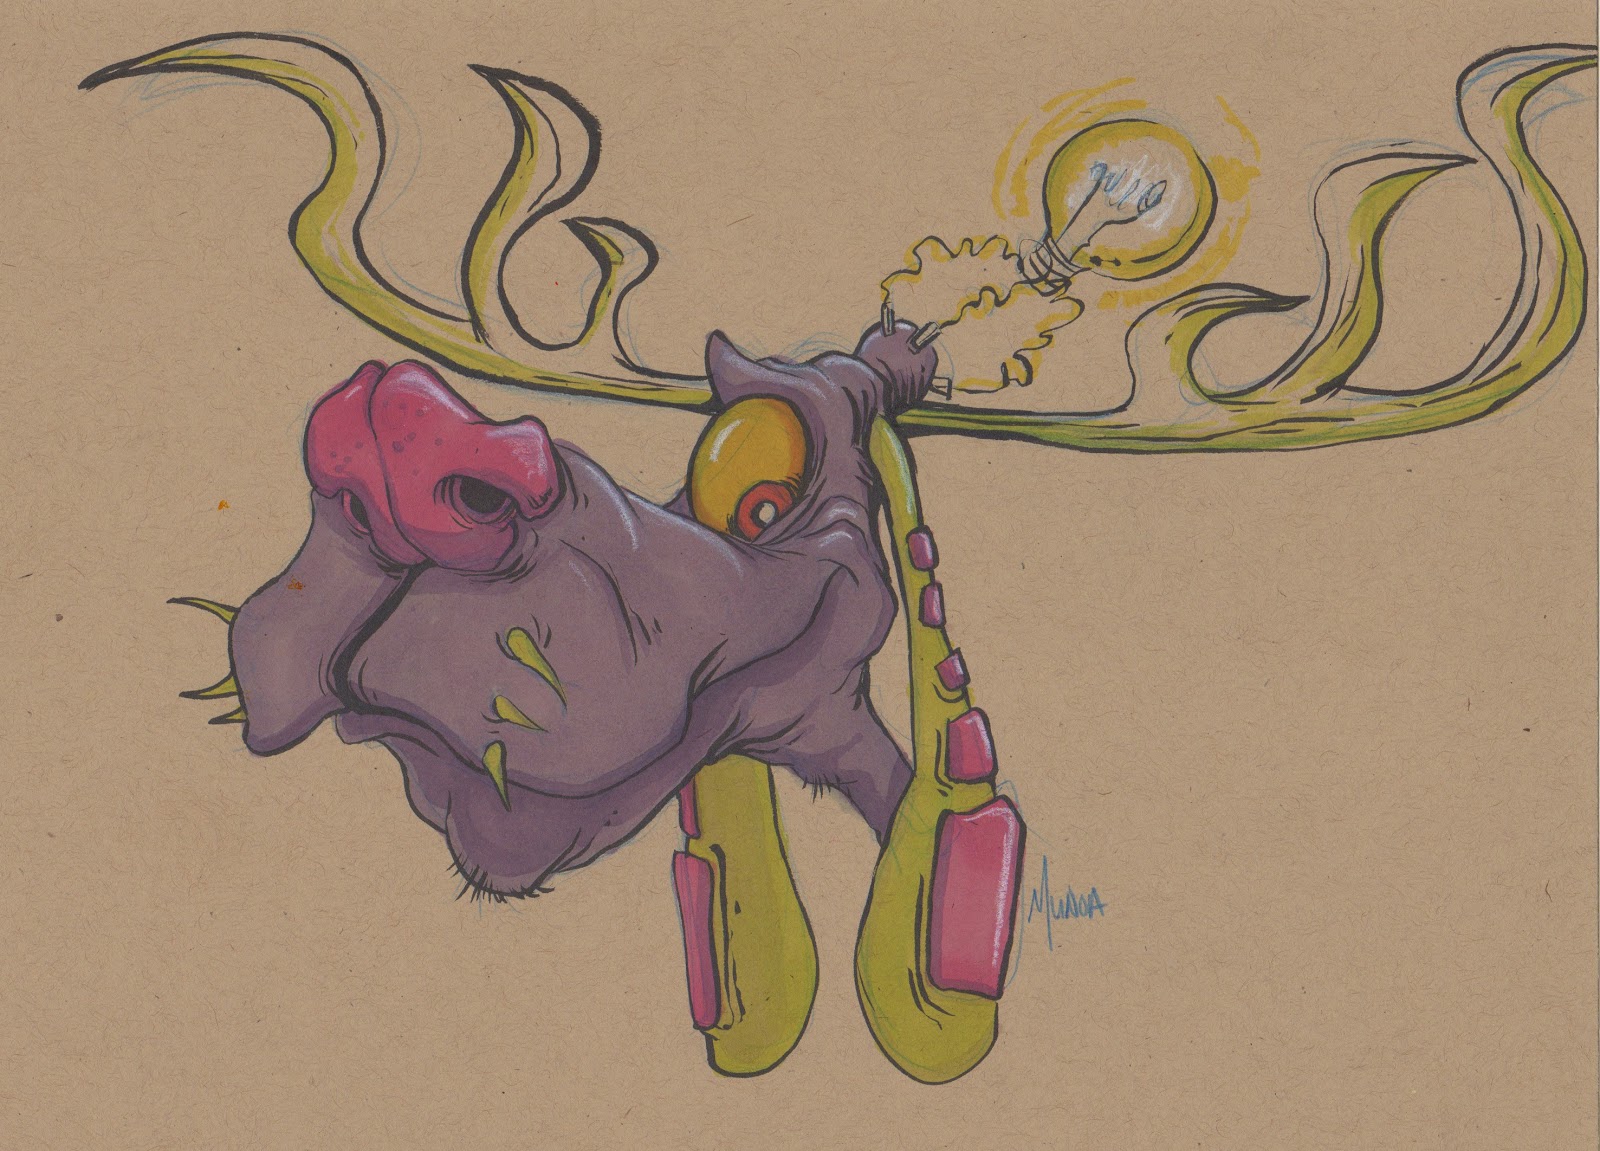
I'm looking for more feed back on my blog! So in effort to get that going I would like to offer up a free signed 11x17 inch print of your choosing from my artwork. To enter is simple, comment on blog posts and I will put the names of the people who comment on the blog in a hat at the end of each month. The winner will be chosen at random out of the hat and an email will be sent to the with to the winner! It's that easy! So common all you faithful readers lets see those comments!!!
Labels:
drawings,
free print,
markers,
monsters,
Munoa,
Sketch,
sketch madness
Monday, January 7, 2013
The Bird Man (Tony Hawk Sketch)
Like most artists, I spend a lot of time sketching. Often, you can find me in a corner of a room somewhere drawing monsters, aliens or a cartoon of some form. I'm sure my wife gets sick of it from time to time. Really though, It's my most favorite part of creating art!
For this sketch, I drew the one of the most famous Skateboarders in history... Mr Tony Hawk! I have watched the bones brigade films since I was a little kid. When I was 12 or 13 I got a Tony Hawk pro model skateboard for Christmas! He has done a lot for the sport of skateboarding and continues to be an innovator and pioneer! Here's to you Mr. Hawk!
What do you guys think should I finish this one in a painting?
Labels:
Birdhouse,
Caricature,
Skateboard,
Skater,
Sketch,
Tony Hawk
Subscribe to:
Posts (Atom)