Those of you that follow me on social media Sites like
Facebook and
Instagram know that for the past few weeks I've been experimenting with ink on toned paper. A few of you have asked about my process for creating these sketches so I thought a blog post was in order.
My materials are outlined in the above photo and I will proceed to give a step by step process down below.
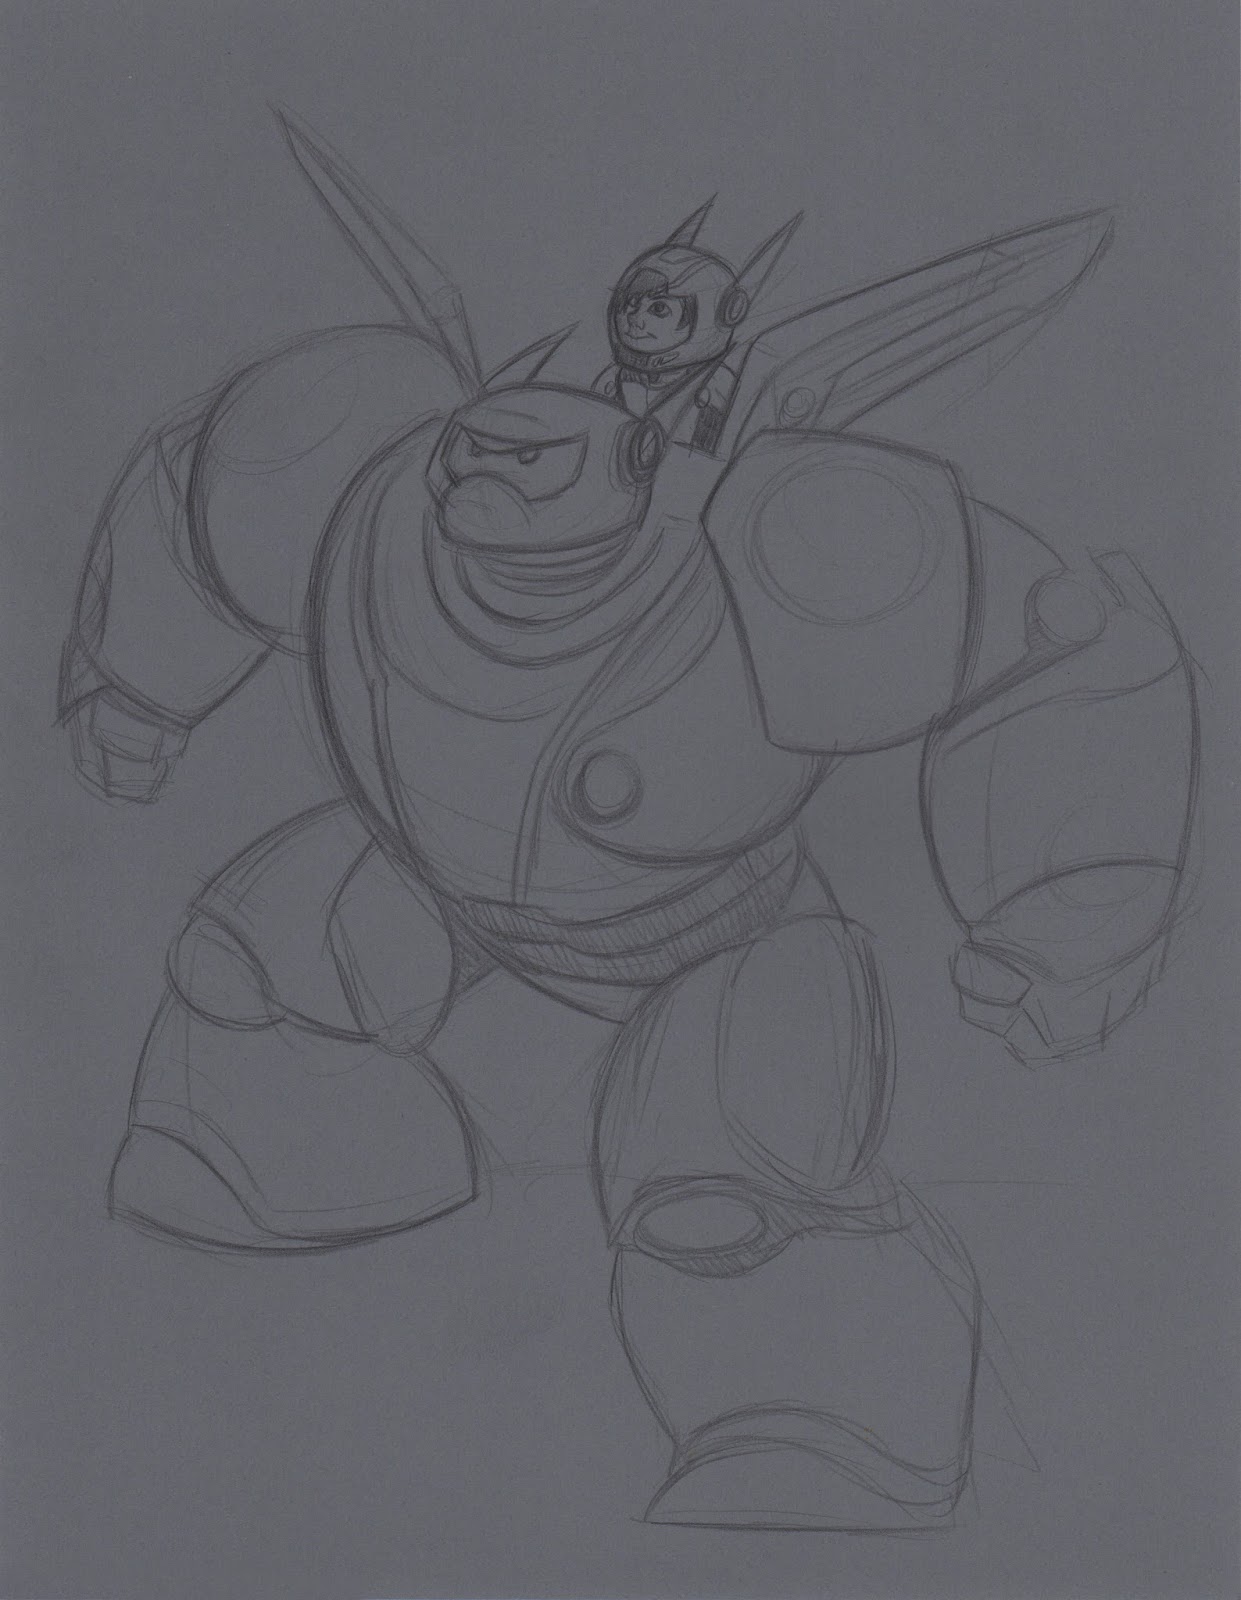
Today's subject is Baymax and his pal Hiro. I loved Big Hero Six and Have been wanting to draw these two guys for a while now. This was the perfect opportunity to do so. If you haven't seen the movie yet you need too its a lot of fun! Okay back to the tutorial...
First: I start off with a loose pencil sketch with a Black Prismacolor Col-Erase pencil on a smooth heavy weight toned gray paper. I really like these types of pencils because they typically don't smear all that much and they don't get all shinny like graphite can after you work it to much.
Second: I grab my trusty Copic Markers and start to lay in some of the values. For this type of sketch I use the warm gray set but any gray markers will work fine.
Third: Using my Pentel pocket Brush Pen and begin to ink the sketch. For the the larger black areas I grab a large flat wash brush and some Higgins black ink. I used to only use a brush pen for this step and it would take forever. However using the larger brush cuts the time by over 75%.
Once the inks are laid down I load up an old "clean" toothbrush with some black ink and using a old credit card I flick the ink and spatter it all over the drawing. This helps to give the drawing more texture. It's a little nerve wrecking to do this to a perfectly good drawing but the effect is well worth it.
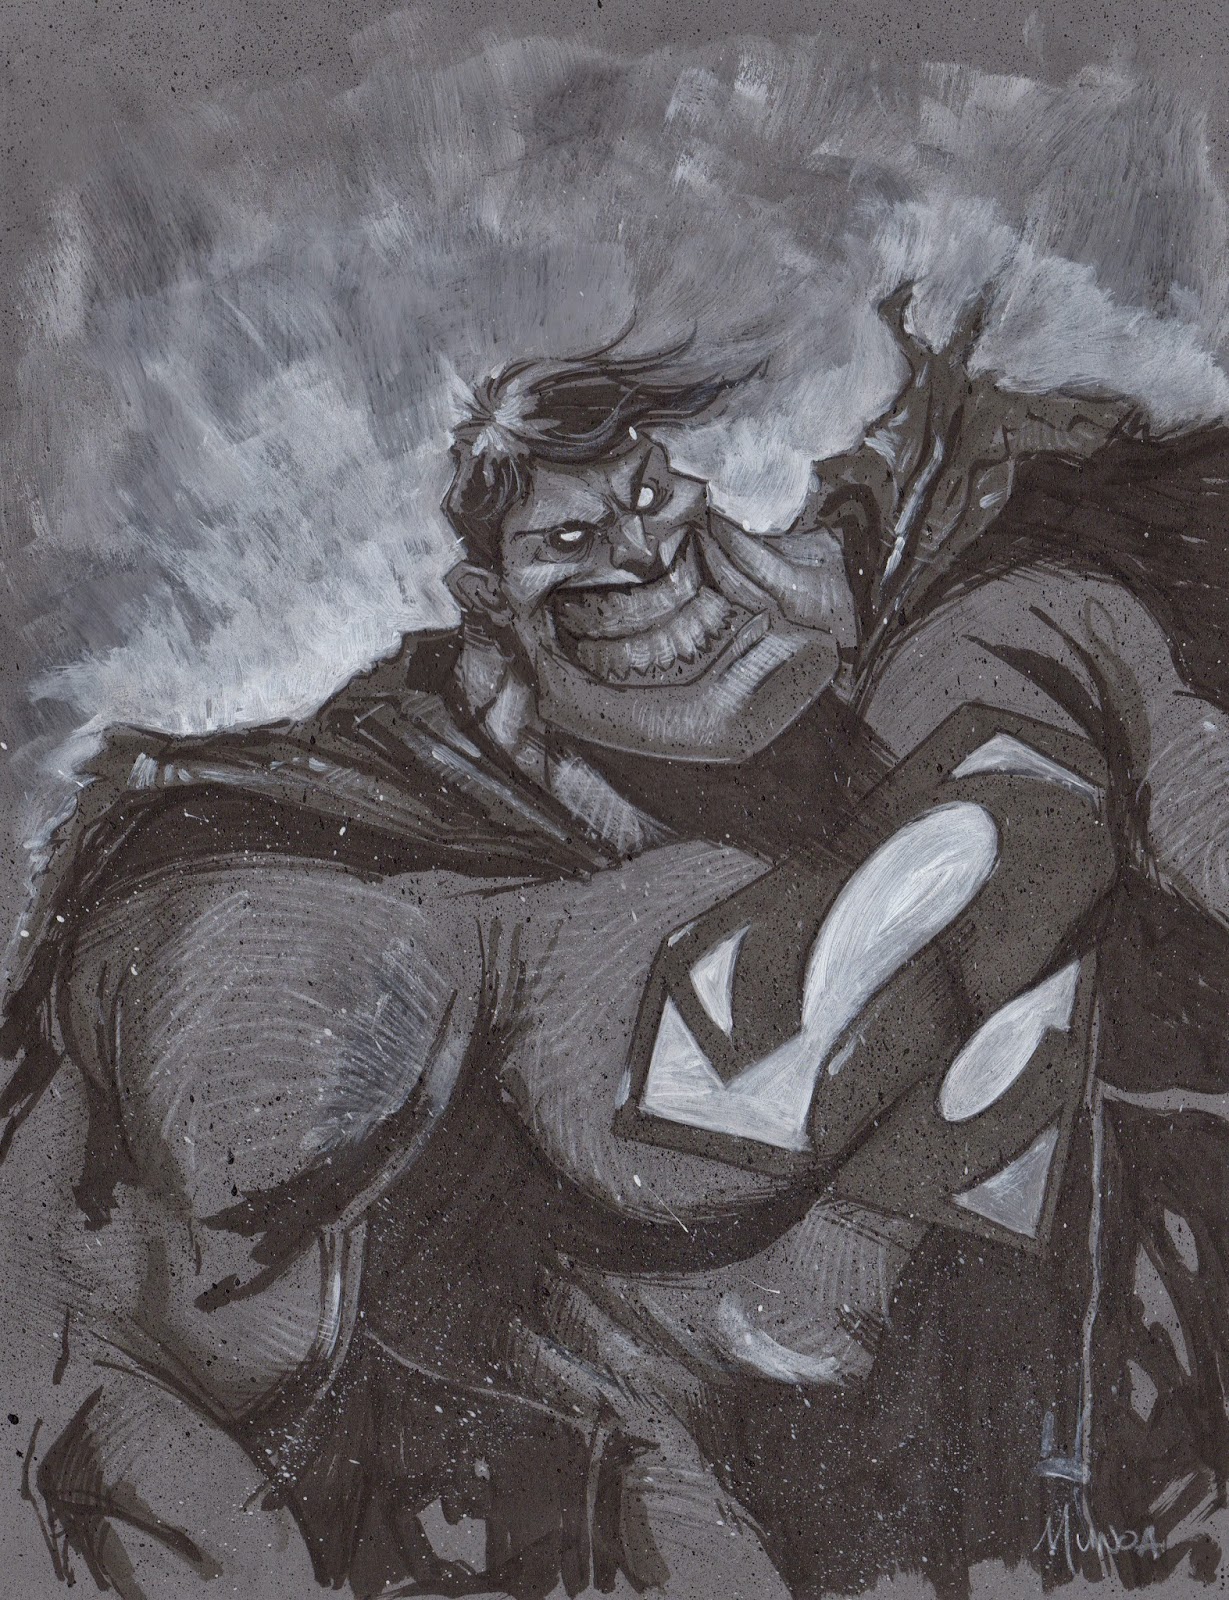
Fourth: After the pervious step I have to let the inks dry. Sometimes to speed up this process I'll use a blowdryer to quickly dry the inks. Once the inks are completely dry I use I white prismacolor pencil and lay in some highlights in a cross hatching pattern working across the form.
Then using a #6 round brush and a little titanium white acrylic paint I paint directly over the white pencil to help create some gradients and subtle transitions. After the acrylics are dry I'll use a white gel pen to add in some more highlights and the smaller details. now that all the highlights are laid in I'll load my brush up with some watered down white acrylic paint and then I'll spatter it all over the drawing just like I did with the black inks to add more texture and a little variance. After the paint dries I add in the old John Hancock signature and the sketch is done.
I've included several drawings in which Ive applied a similar process. I'd love to see your drawings using this same or a similar process. Feel free to email me or tag me in your social media posts. Also if you have any comments sound off down below! Now get out there and draw!
-Adam


