Friday, September 26, 2014

Marc Davis Tribute


Rough sketch
Background block-in 
Background Color
Main Character Painting
Final Painting 

How's it going everyone?! I'm doing great as usual! For this weeks painting I'm once again pulling inspiration from Illustration Friday's Weekly topic. This week's IF theme was "Novelty". While trying to figure out what to paint I did a lot of research and watched a bunch of old Ed Sullivan Show episodes. They all had these great acts with some kind of gimmick. This got me thinking... One of my all time favorite novelty acts was the Country Bear Jamboree at Disneyland. The characters were designed by Disney veteran animator Marc Davis. So I decided to paint a tribute piece to Mr. Davis and create my own Country Bear novelty act. So here we have Lynyrd "Rascal" Bearenthall the 4th and his amazing unicycle cat juggling routine!

Friday, September 12, 2014

Who needs a Radio!?


How's going everyone? I've been really good! I just finished another Salt Lake Comic Con  and have been super busy working with amazing clients and creating a ton of artwork! 

The new school year has started and I am finally in my last semester! For this final semester I needed one upper division art class so that I finally graduate. The opportunity arose to take an independent study digital painting class with 
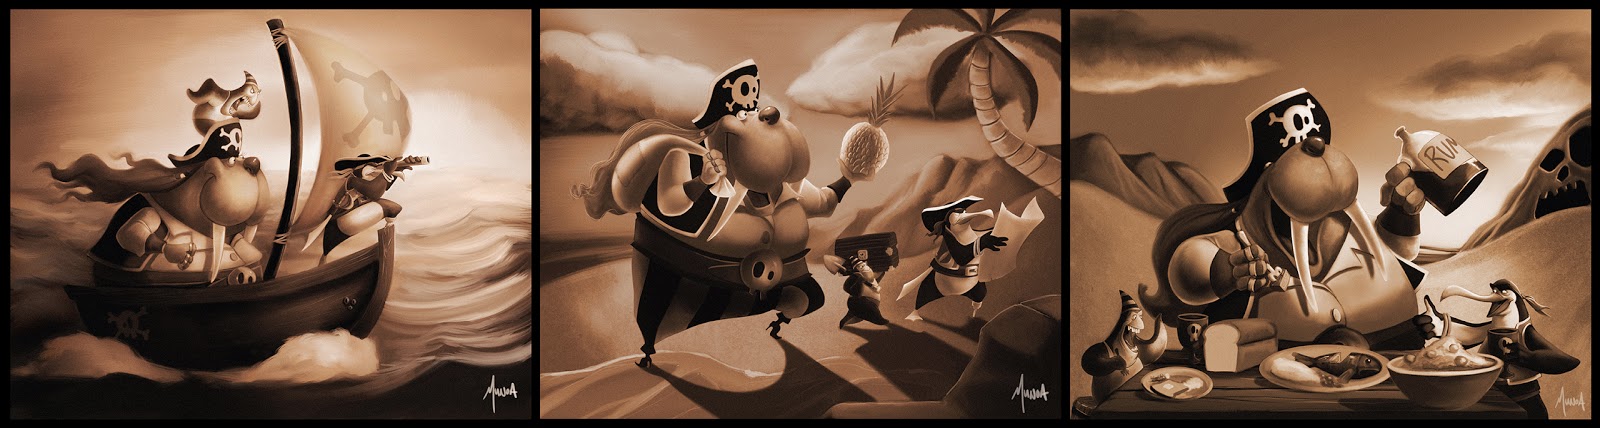
Jim Madsen. If you don't know Jim's work follow the link and prepare to have your mind blown! He is an amazing artist and in the two short weeks I have been in his class I have learned a ton! 

For Jim's class, using the Illustration Friday topic, we are going to be producing one painting per week. This weeks topic was radio. I know some of you are thinking how does this painting relate to the topic. Well, I didn't want to simply illustrate a radio in the truest sense so I thought hey why not paint a singing mariachi riding a donkey on a road trip to San Diego. You know, using his "old school" radio.


As with most of my work it starts with the exploratory phase of drawing and sketching.  This is my favorite part of the process because it allows me to try out a bunch of ideas quickly with out any real consequences. Some ideas work and others don't. This was the ruff thumbnail sketch that I settled on.


Now that I have my Idea I tighten up my character sketch. I should note that I'm working 100% digital on this painting sketch and all. I use Adobe Photoshop and a Wacom Cintiq 24HD. I try to use the stock photoshop brushes as much as possible but, I love these pencil brushes from Frenden for sketching. They have a great texture and natural feel to them.


Next I quickly block in the background. I'm working in black and white first so I can get the values correct. I'll add color later. 


Now that the background is roughed in I turn that layer off and block in my two main characters. For this phase I take the value painting almost to a finished state. I want this value painting be pretty tight so I spend quite a bit of time working on the values and textures. This helps late on with the color glazing part of the painting. 


So the main characters and the backgrounds are ruffed in now comes the color part. If you spend your time getting the values right you can almost use any color pallet and it will work fine. I usually never work this saturated with my colors but, seeing as this is a desert scene I thought it would be a excellent opportunity to pay tribute to one of my favorite cartoons The Roadrunner and  Wile E.. Coyote! I decided that some intensive research is in order. So I watched a few episodes and looked up some reference and decided to go with a pastel color pallet for the background. Using new layer I set it to color and glaze over my value painting. I'm working pretty loose on the background leaving the edges soft. I also let the colors overlap to allow some blending. Once I'm happy with the colors I move on to painting the main characters. 


Using a method similar to the background, I use color, multiply and normal layers to glaze in the color and refine the illustration. This part takes a little longer but this is where the painting really comes together. Most artists will tell you that the most fun part of painting is the little details. I'm am no different. A lot of time has been wasted zoomed in painting stuff that no one but me will ever see, but hey thats the fun part. Right?


After the color is all done I add some subtle texture overlays and do a little color correction to help harmonize the painting. Overall I was happy with the illustration but, I thought something was missing from the painting so I decided to add a little desert bird to the scene to fill up some of the negative space and add a little more humor to the scene. As you can see the donkey is really happy to be on the long trip with his companions. 

Thanks for making through my last painting with me. Have a great weekend!

Thursday, August 7, 2014

Master Splinter Digital Sketch/ Painting Process...

For this week's blog post I thought I'd share another process demo/ tutorial. Instead of using traditional mediums I am going to focus on digital painting/ sketching. For those of you that know me personally know that I love digital painting! Like all mediums it has unique qualities and attributes that are specific to it's self. It can do things that other mediums can't. There is a huge down side to digital painting, unless you draw it out on paper first, you don't have an original art piece when you are all finished. Sure you can make prints but it's not the same thing, trust me. 

The subject for this demo is none other than everyone's favorite ninja rat... Master Splinter! I've been wanting to do a painting of this guy for some time now and Sketch Dailies topic yesterday happened to be Splinter so I decided it was finally  time.

As far as tools go I am using a Wacom Cintiq 24 HD and Photoshop CS6.  


A while back a friend of mine recommended some awesome digital pencil brushes from FRENDEN.  They have a natural pencil feel and add a nice texture to the digital drawing. As with most of my artwork I start out with a few rough thumbnail sketches to get a feel for the character. Once I get one that has the right look I start to refine it. 


Now that the rough sketch is done I lower the opacity of that layer pull up a new layer and tighten up the line work. This process is similar to how a comic book artist would use a light table to refine their pencils or inks. 

 I start the color process by first putting to getter my color pallet. Then I block in the ruff flat colors. after the flats are done I establish a light source and block in my values. I want to note that I am zoomed out and I am using a large brush for this step. Also, I am painting loosely often going outside the lines of my initial sketch. 


 I take my time and build up the layers of pixel paint. I should note that I am only working on one or to layers in Photoshop. I have some really talented friends that can paint on dozens and dozens of layers and manage them, but I have found that for me, personally, it is easier to keep the layers to a minimum. At his stage I start to zoom in for the tighter details like the hair and whiskers.

After I am happy with Splinter I rough in  a loose background. I check a few things and add a slight texture to his robe, add the old signature, and BAM this one done! 

If you have any questions or comments please sound off below. Have a great week everyone!  

Saturday, July 26, 2014

Hellcat: Marker Drawing Process!


I get a lot of questions about my process for sketching and drawing with markers. A lot of people ask how I get such vibrant colors. So I thought for this weeks blog post I'd share my simple three step process for how I go about drawing with this super fun and amazing medium.

Step 1:

I start out with a loose pencil sketch usually drawn with a red, blue or black Prismacolor Col-Erase pencil.  I love these pencils because they don't really smear and they have a soft waxy feel when you draw with them. I've been using them for years and absouluty love them.

 I draw on all sorts of papers and surfaces. My preferred paper is an 80lb heavy stock "oatmeal" colored paper made by the French Paper Co. It's a great paper for mid tones and really helps to harmonize colors better than traditional white paper.  

Step 2:

Once the rough sketch is to my liking I move on to the next step which is applying the marker washes. I say washes because I treat the markers a lot like you would a watercolor painting. Working from light to dark building up the values and the layers. 

As far as the actual marker goes any brand will work. Copic, Touch, Prismacolor etc... I happen to use a super cheap design marker made by Utrecht. I love how juicy and vibrant they are. The nibs (tips) are fantastic and can provide a wide range of marks and strokes.  On one side you get a chiseled tip and on the other side you get a really nice flexible brush. The best part is that they only cost $1.99 compared to $5.00-10.00 for the other brands!


Step 3:

Now that the markers are laid down now its time to make these colors really pop! This step for me is the most exciting because this is where the drawing really comes to life. I use a process similar to oil painting where you paint, or in this case draw, the lights over the darks. 

I grab my trusty box of Prismacolor colored pencils and start to work over the top of the markers drawing bringing out the highlights and accenting the character. The trick is to not be too heavy handed, keeping your hand light and barley touching the surface of the paper building up the layers. 

Final:

There you have it! Like most things in regards to painting and drawing it's all about the process. Certain process will yield different results. In my case this is the process that I have come to really enjoy. Is it the only way to draw with markers and colored pencils? Of course not. I would encourage all you to try experimenting and develop your own process. Feel free to comment or ask questions down below. 


I am currently working  a more in depth video tutorial of this process. I'll post it up once it is completed. Until next time take care and keep drawing!

Links for materials:


Update: I did a little digital painting of Hellcat


Wednesday, July 16, 2014

Iron Giant for Sketch Dailies...

Sketch Dailies is a feed on Instagram and twitter that posts a new topic every day and then 1000's of wonderful artists sketch their interpretation of that topic. It's a great challenge and a good way to combat artist block! Today's topic was one of my all time favorite animated movies The Iron Giant!

I've been really into sketching birds lately and I though this was a good and funny way to fuse a bird and the sketch dailies topic together. I know the bird is a little big in comparison to the robot, but hey that what you call artistic licensing. This painting took about an hour and half in photoshop.

See, I told you that I was going to post more often on the good ole' blog! Have a great day everyone!

The Blog is Not Dead!!!


Yes I am still alive! I'm sorry that I haven't been as active as I should be on the blog. I have been focusing a lot of attention on social media websites such as Facebook and Instagram. I post almost daily to those platforms so if you want to keep up on what I'm doing on a daily basis come and follow me!

To make up for the lack of posting on the blog I thought I'd share a few paintings from my recently completed BFA project at UVU.

I will be posting weekly on the blog again so stay tuned and have a great week!

Monday, April 28, 2014

This years painting for the Primary Children's Hospital!


As some of you know every year in the Spring time I get together with the fantastic artists at UVU to create some artwork specifically to donate to the Primary Children's Hospital in Salt Lake City, Utah. Every day these brave boys and girls face challenges that we can only imagine and these noble doctors, nurses and the rest of the hospital staff do all in their power to help them.

This was my contribution for this years donation.... the Easter Bunny himself. My thoughts for this painting were that I wanted to show him painting an egg, carefully paying attention to every detail and admiring his handy work. I chose this concept to mimic the tender care that this amazing hospital gives to these children on a daily basis.

I know that my contribution is small in comparison but, if I can use my artistic talents to bring a smile to just one of these amazing children in a time of difficulty it makes all the time and effort it takes to create one of these images worth it! I can t wait to do it again!

Wednesday, April 9, 2014

Cap'n Merica!

What's up everyone!!! Just incase you are wondering  this is not a halluciantion I am in fact posting to the blog! I apologize for not being consistent I've have been working non stop on my BFA show and I want the new paintings, 14 in all, to be a surprise for all the guests that attend my show on May 9th.

That being the case I couldn't resist the urge to post my latest painting in honor of the new Captain America movie. I've seen it and it's fantastic!!! If you haven't get out there and see it! This was painted 100% in Adobe Photoshop CS6!


Thursday, January 9, 2014

Arrrrr... thar be Pirates!!!


  This body of work is from my final project for Will Terry's Children's Book Illustration class at UVU. For this assignment we had to Illustrate three scenes from a narrative supplied by Will about three pirate friends. Other than following the text we had to include a mammal, a foul, and a sea crustacean. 

As usual with anything involving instruction from Will, I had an absolute blast working on this project!